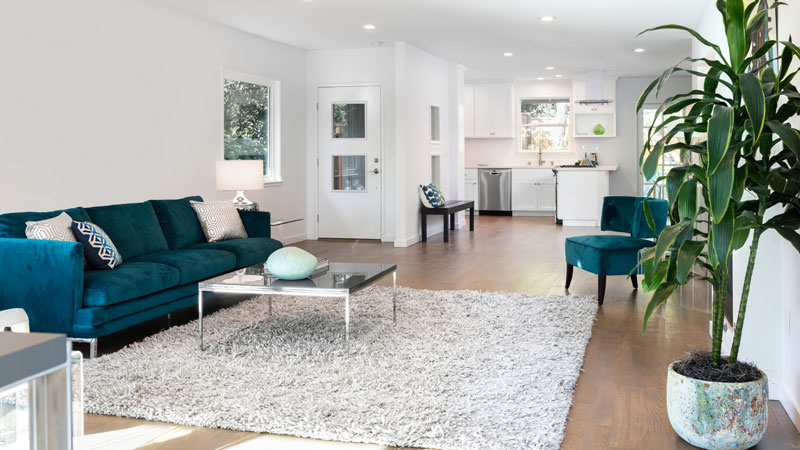
Looking to transform your space this Spring? This article will walk you through how to DIY a stylish feature wall using wall panels. These easy-to-use panels can give your home a fresh, modern look in a short time.
Measure
Measuring can seem like a simple task, but when starting a DIY project, it is crucial that you get this step right. After all, every decision is based on these numbers! First, you should measure the width of the wall for feature design. Make sure to measure in several places, and use a level to ensure you are measuring in a straight line. Once you have this measurement, it is time to measure the height of the wall, or to determine how high up the wall you want the paneling to go.
Design
Now that you know how big the space is, it is time to decide on your design. Consider how many panels you want to fit in the space and where they should go. Depending on your design, these panels may all be the same size or some may vary in size. For most designs, symmetrical measurements look the best, so if you are going to have one panel that is smaller, this is best centered. However, if two panels are smaller, make sure they mirror each other. During the design phase, you should also decide on any additional moldings, trims, or ledge details.
Order the Products
Once you have your design finalized and measurements set, it is time to order everything you need. You will likely need to cut down wall panels to meet your needs, so make sure that you take that into account when placing your order. Remember to also order any adhesives for the product you choose. For example, when using NRP/Polywall™ Wall Panels from Plas-Tex®, it is recommended to use Parkland Panel Adhesive.
Prep the Area
You must make sure that the wall surface is completely clean before applying any wall panels. This can include removing wallpaper and washing the wall thoroughly. Consider sanding the wall to ensure the surface is flat, as this will help ensure the paneling lies flush against the wall. Once this is done, use a pencil and laser level to mark where each panel should go. This will help you save time when installing.
Prep the Materials
Now that you have the space prepared and your materials on hand, it is time to get them ready for installation. Using the measurements from your design, it is time to cut the panels and any trim pieces to the correct size. Measure twice, cut once is crucial at this stage, as measuring wrong could throw off the entire project. You should also make sure to mark and cut out any electric sockets, light fixtures, or other existing fixtures during this stage. Be careful not to mark on the face of the panel with pencil as it cannot be removed. When cutting the panels, consider utilizing a T-square to ensure your cuts are straight and uniform.
Install
Now that you have everything prepared and ready to go, it is time to install the panels. In most instances, you should apply the adhesive directly to the wall as per the manufacturer’s instructions. For example, Parkland Panel Adhesive should be applied to the wall using a notched trowel for even application. Keep in mind that other non-Parkland adhesives recommend application to the panel and not the wall. Then simply press the panel into place, and use a roller to push from the center out. This will ensure that the panel adheres to the wall completely, and will help to remove any air bubbles.
Once the base panels are dry and secure, it is time to go in and add any moldings, ledges and other design details.
Final Touches
While some wall panels come pre-colored and ready to go, you may want a specific color for your feature wall. Once all the panels and details have been securely adhered to the wall, allow them to dry completely. This is crucial to avoid any movement on the panels from the pressure of your painting roller or brush. Then simply paint the panels with your chosen color. Depending on your color choice and wall panel material, you may need to do several coats of paint, which may take several days to apply.
There you have it: a new and stylish feature using wall panels. Wall panels make DIY renovating easier than ever before.
Parkland Performance offers a range of environmentally friendly wall panels to meet your interior design needs. Their product range includes adhesives and protective moldings to help complete the entire look. Learn more on the Parkland Performance website today.
